Important links
Related: Learn more about WordPress
Monstroid2 theme tutorial: build a WordPress website with a demo
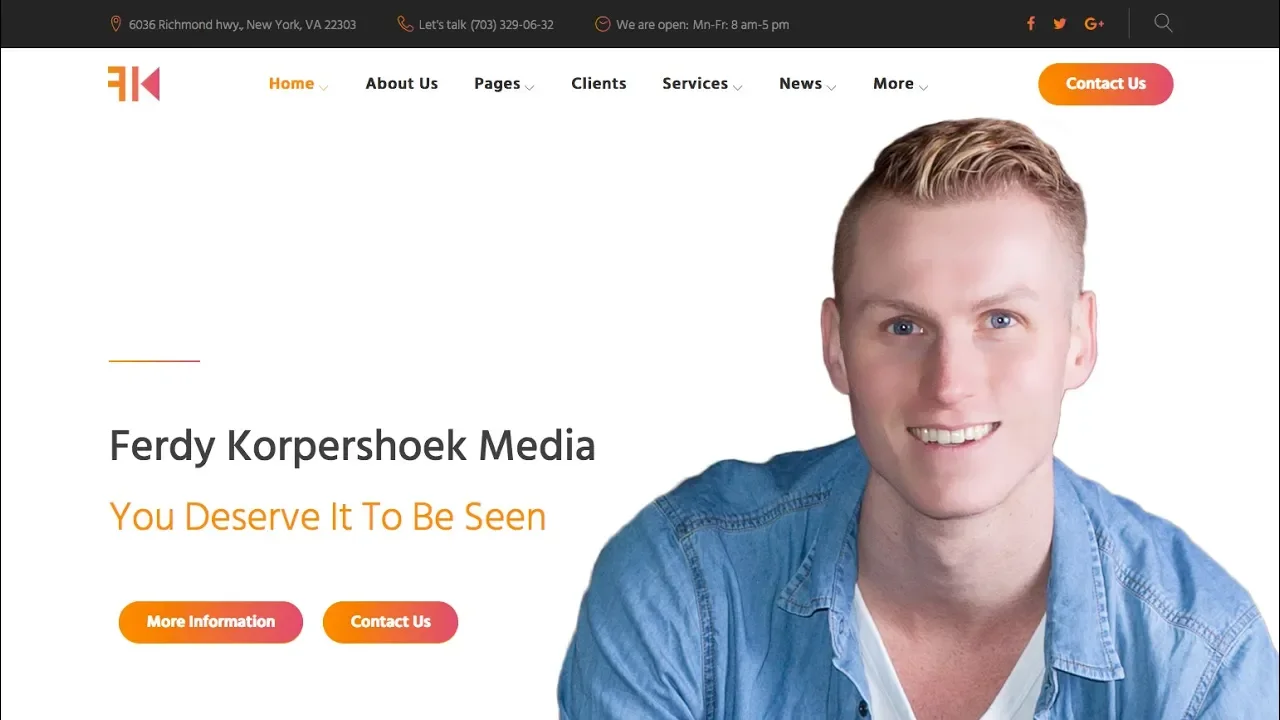
In this tutorial I show you how to make a WordPress website with the Monstroid2 theme. We get hosting and a domain, install WordPress, install the theme, import a complete demo website and then make it our own: logo, colors, header, footer, the Power Builder, the team section, blog posts and the menu.
Good to know: this video was recorded in 2017. The hosting screens, the theme store and the prices you see in the video are outdated, and the theme itself may look very different today. If you are starting a new website now, I recommend my current WordPress tutorial for beginners. The guide below is a short summary of what I did in the video.
Step 1: Hosting, WordPress and a clean start
In the video I bought a hosting plan with a domain, installed WordPress with the one click installer in cPanel, and waited about 20 minutes until the domain was live. Then I cleaned up the back end:
- Deactivate and delete all plugins that came with the installation.
- Go to Settings, Permalinks and choose Post name, so your URLs look clean.
- Delete the sample post and sample page, and empty the trash.
- Fill in your first and last name in your profile, so posts show your real name.
Step 2: Install Monstroid2 and import a demo
What I liked about Monstroid2 at the time was the license: you could use it on unlimited websites. The download is a big package, so unzip it first and look for the theme zip inside.
- Go to Appearance, Themes, Add New, Upload Theme, choose the Monstroid2 theme zip and activate it.
- Click Begin installing plugins to install the plugins the theme needs. Delete the default themes you don’t use.
- Start the wizard, view the demos (called skins) and pick one. I chose Corporate.
- Choose a full install and Replace the existing content, because the website was empty. Fill in your password and import.
A few minutes later the complete demo website is there. The demo photos are blurry, because you are not allowed to use them, so you replace them with your own images. You can download the images I used at the top of this page.
Step 3: Make it your brand in the Customizer
- Logo and favicon: upload your logo at the height you want (I used 35 pixels), a retina version twice as big, and a square site icon.
- Preloader and breadcrumbs: I turned both off.
- Page layout: I kept everything full width with a container width of 1120 pixels.
- Color scheme: change accent color 1 and 2, the link colors and the heading colors to the colors of your logo. Do the same for the gradient scheme. This changes the colors across the whole website at once, which is what I loved about this theme.
- Header: change the call to action to “Contact us” with a link to your contact page, update the address, phone number and opening hours, make the menu sticky and show your social links.
- Footer: set the copyright text so the year updates automatically, and choose the number of widget columns.
Step 4: Edit pages with the Power Builder
Monstroid2 came with its own page builder, the Power Builder. It works with three levels: a section on the outside, rows with columns inside it, and modules inside the rows. Each level has its own settings icon. On the homepage I:
- Changed the slider title, button and background image, set the image position for mobile, and turned on true parallax.
- Linked the “Read more” button to the about page.
- Set the team module to show the photo, name, position and social links as grid boxes.
- Changed the posts module from four to three columns, so the blog posts looked better.
A handy trick: open several team members, testimonials or posts in new tabs with Command or Ctrl click, so you can replace their featured images much faster. Under Pages, Static elements the demo shows an example of every module, like accordions, counters and countdown timers, so you can see what each one does before you use it.
Step 5: Footer widgets, blog posts and the menu
Under Appearance, Widgets I put my logo and social buttons in the first footer widget, removed the widgets I didn’t need, added Recent Posts and changed the footer to three columns. Then I wrote a new blog post with a heading, an image, a category and a featured image. Finally, under Appearance, Menus, you can create your own menu, add pages and custom links, drag items to make sub items, and set it as the main navigation.
Frequently asked questions
Can I still follow this Monstroid2 tutorial today?
The basic ideas still apply, but many screens will look different. For a new website I would follow a more recent tutorial, like my Blocksy theme tutorial or my Elementor tutorial for beginners.
What is a demo import?
It copies a complete example website, with pages, menus and settings, into your WordPress installation. Then you only need to replace the content with your own.
Why should I change the permalinks to post name?
Because a URL like yourdomain.com/hello-world is cleaner for visitors and for Google than a URL with index.php or a date in it.